Like many people, I had seen wild crazy looking mechanical keyboards, and had been both fascinated and confused by them. How could you get by with so few keys? What does each key actually do? They looked like some kind of wild alien input device, but, at the same time, must work well otherwise the fad would have died out years ago. The high cost and fear of failure, thought, was enough to put me off of trying them out.
While attending OSHCamp earlier this year, a talk by Alan Wood explained a lot of the ideas behind these keyboards, and answered a lot of my questions – except for one; Would I be able to cope adjusting to one?
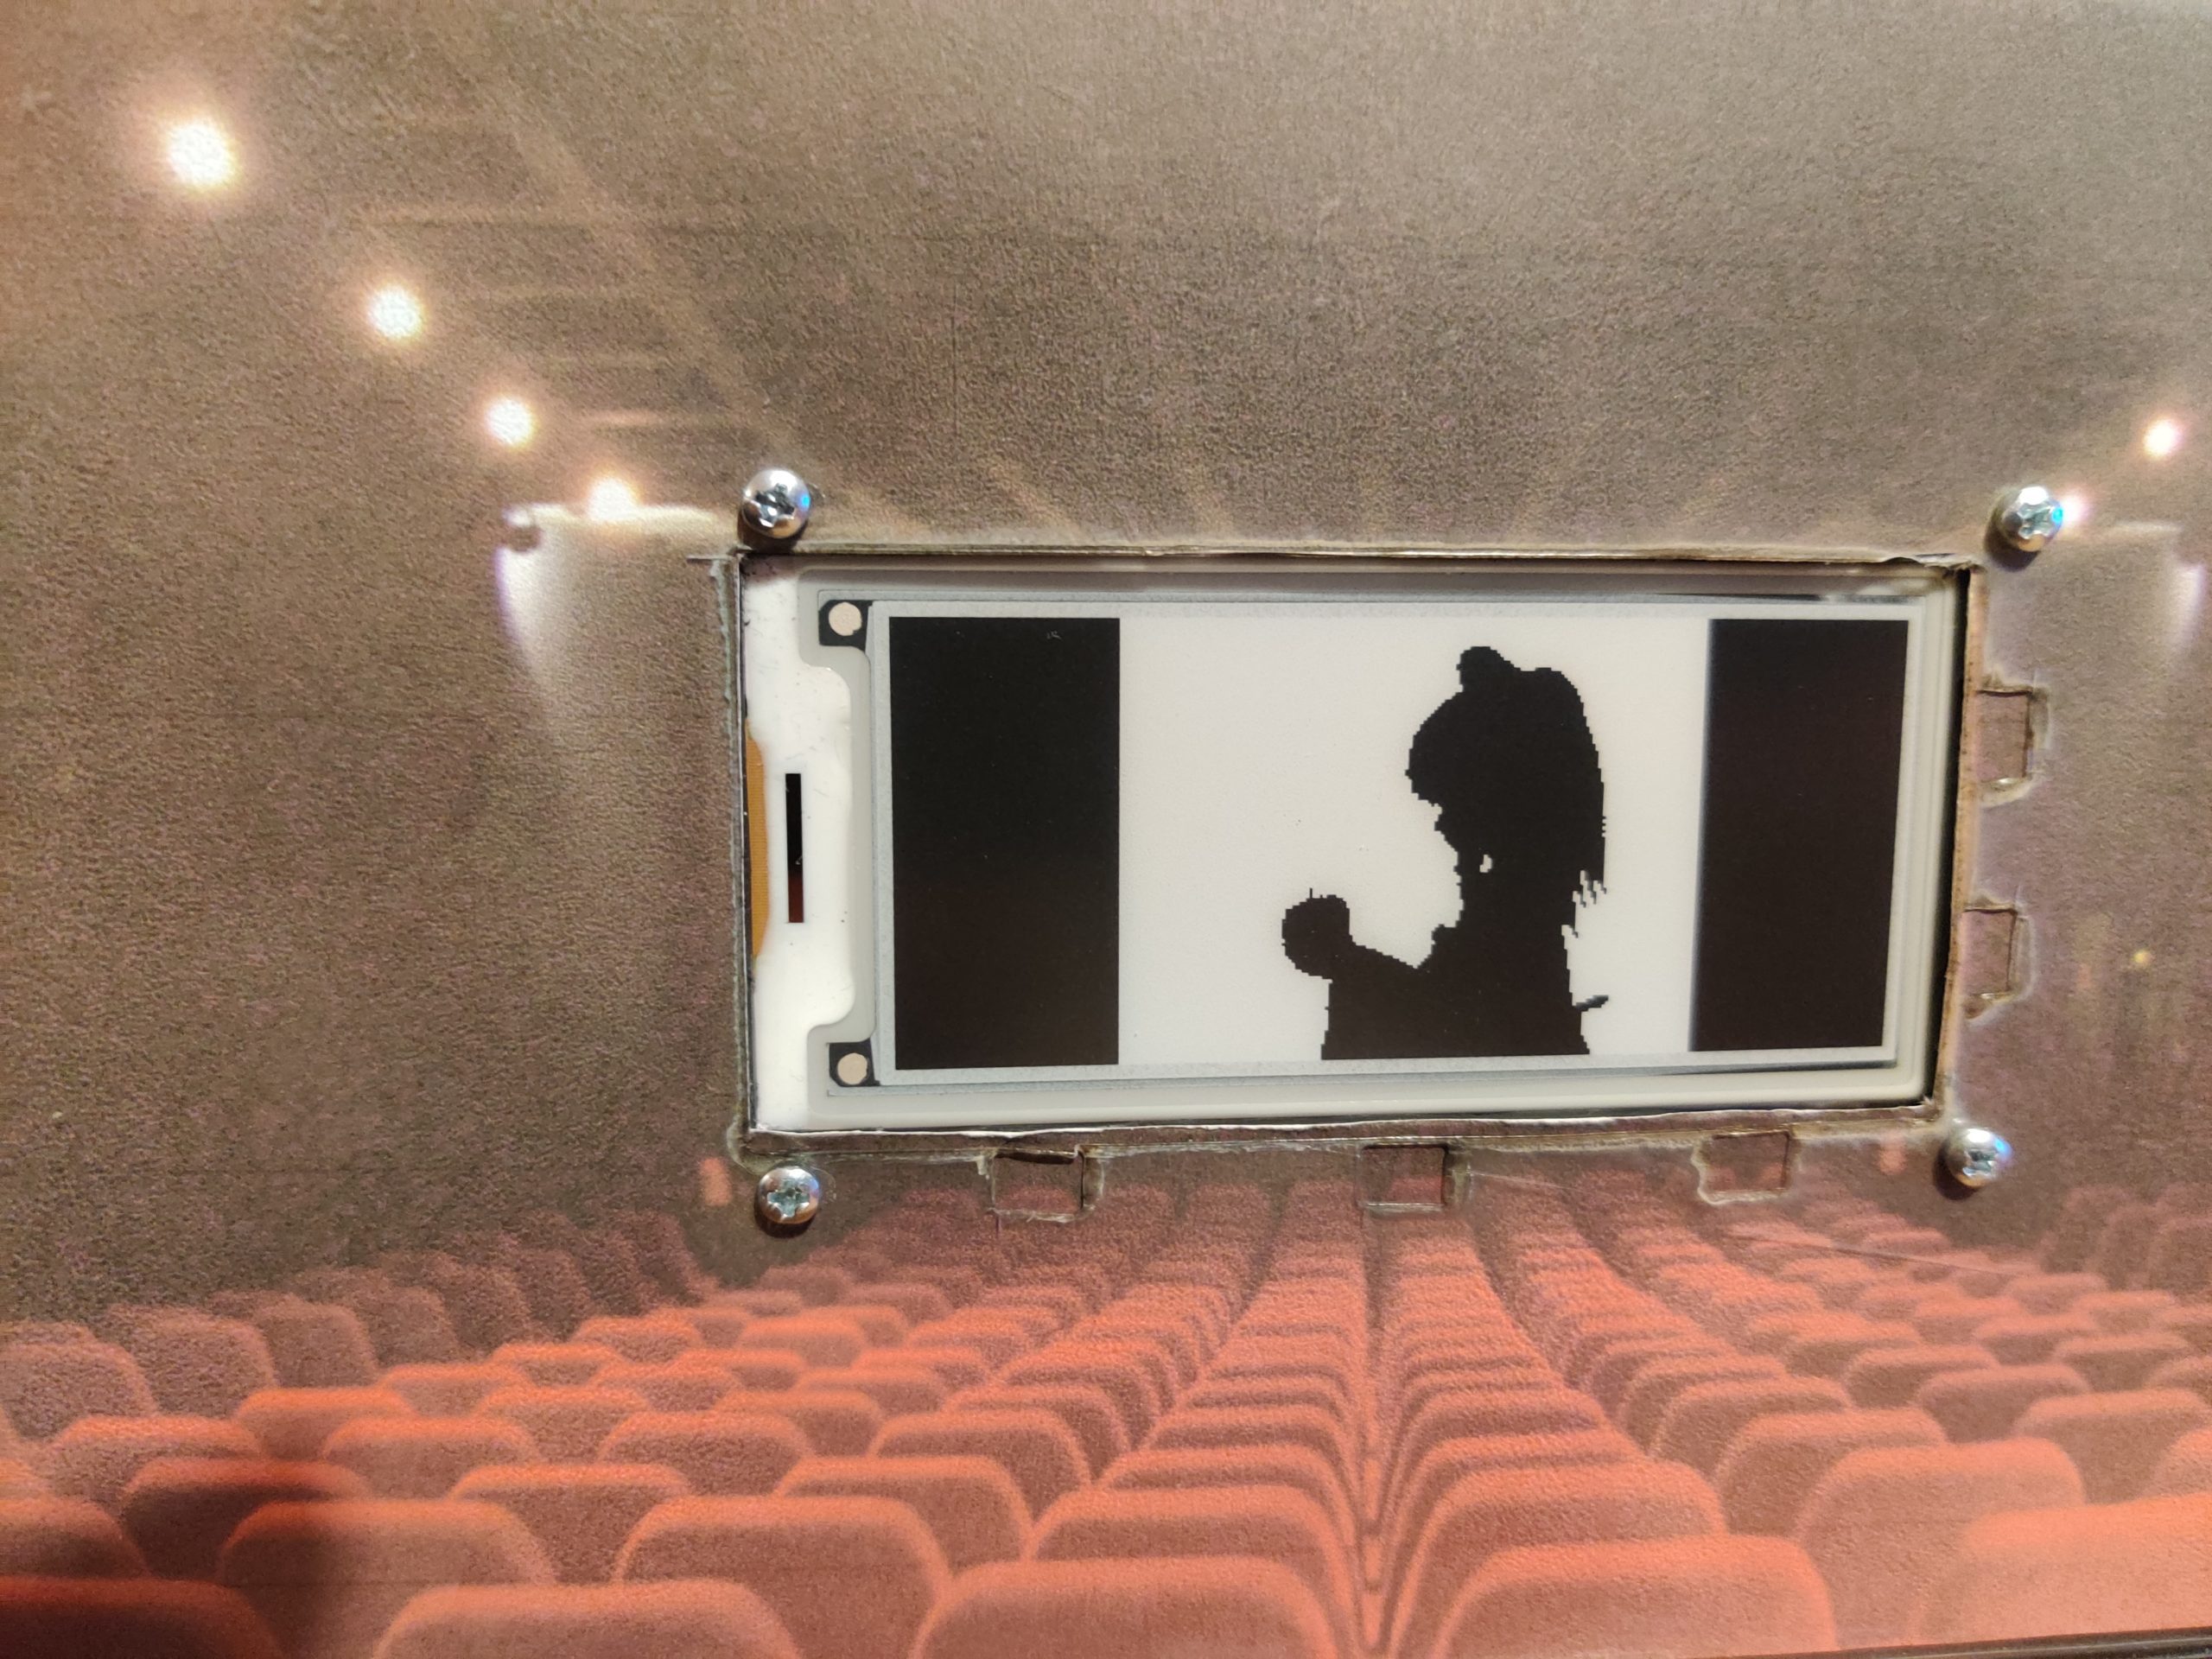
A couple of years ago I saw that somebody on the internet had made a Slow Movie Player, and that piqued my interest. The basic idea is that your favourite film is displayed on a screen at a really slow framerate. Eink displays are ideal for this as they use no power except for when updating the image. Their refresh rate is pretty poor compared to OLED displays, but if you’re only updating once a minute, that’s fine. A decent size eink display is pretty expensive though, so this idea went on the back burner.
Earlier this year, Pimoroni released the Badger. A small eink display with a built in RP2040 (Raspbrry Pi Pico) which was ideal as a programmable name badge – hence the name. This was really cool, although I didn’t have a need for a name badge. This also went on the back burner.
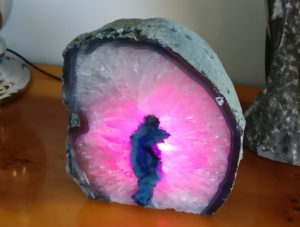
During the 2021 lockdown I started a laser cutting project I’d wanted to do for a while. It turned out that the research on this went much much deeper than I first expected.
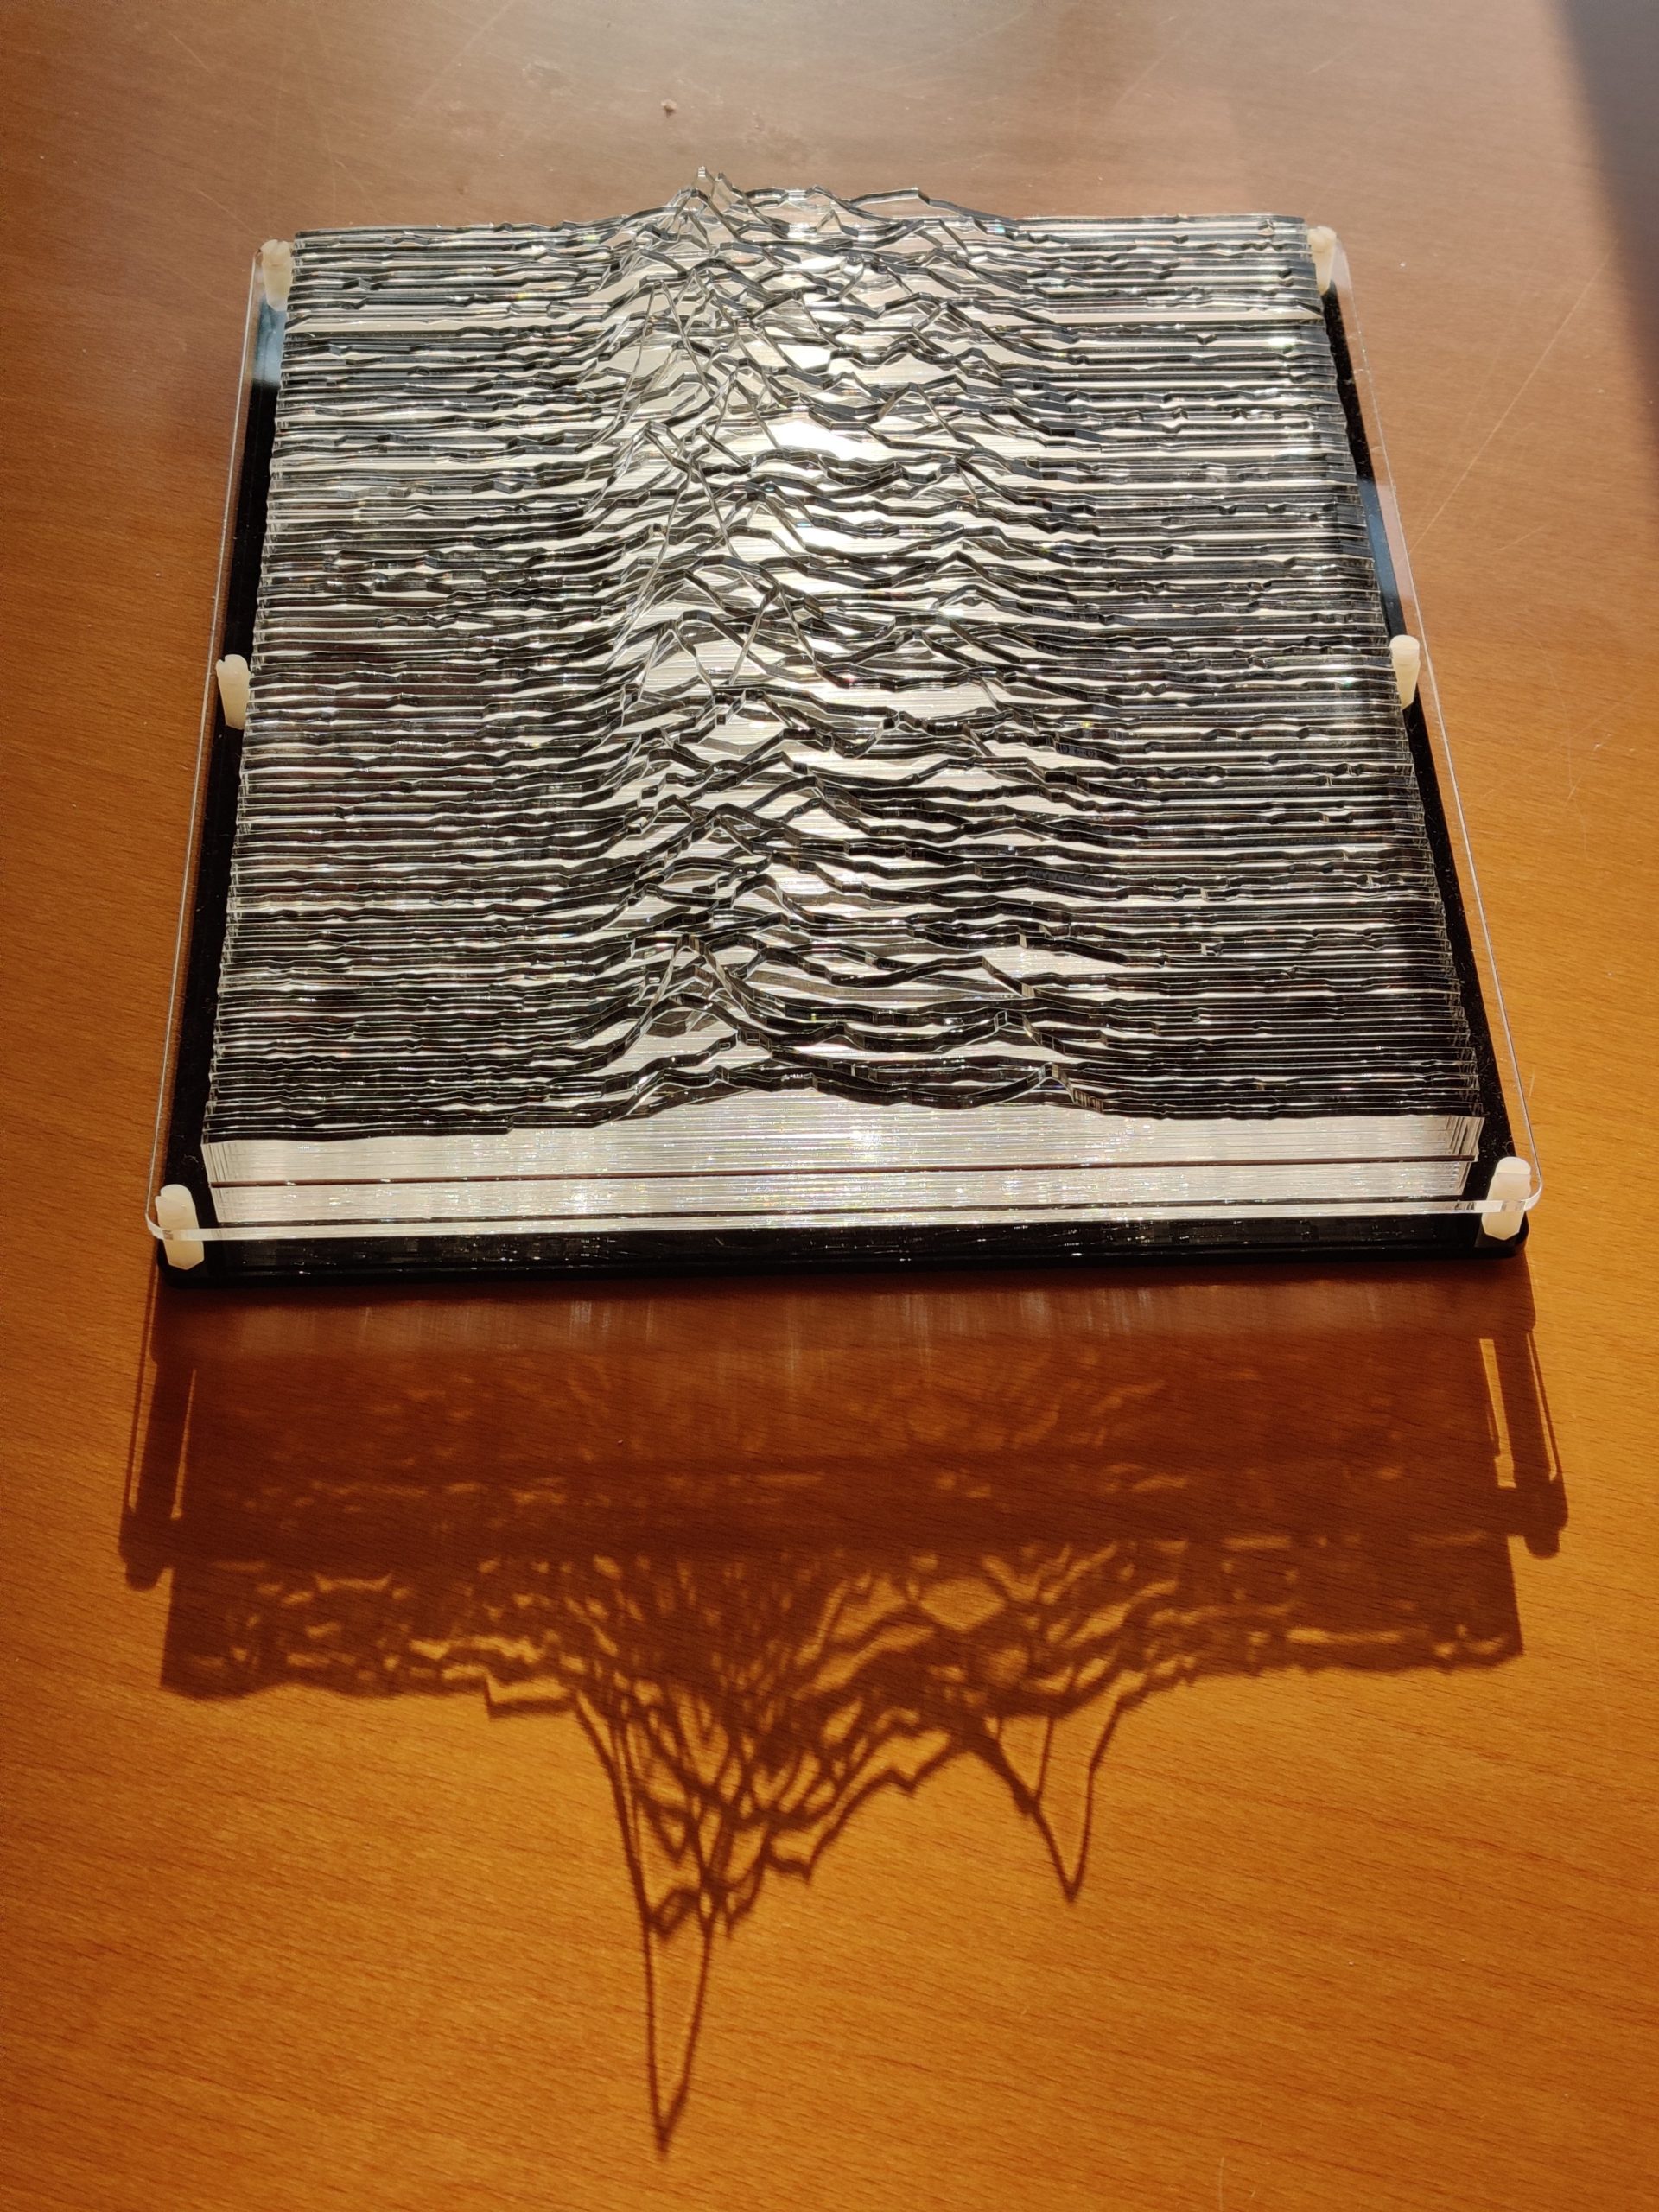
You probably recognise this image, and think you know where it comes from. But what if I told you the story goes back further than you think.
This is one of those little projects that didn’t need to be done, or could have been done very simply. Despite a lot of feature creep, everything just came together at the right time, and I’m really pleased with the results.
Ok, firstly, apologies for the lateness of this post. The stuff below was actually done a couple of weeks ago, but time has just got away from me. Hence this is being written up 2 days past the closing date for RC2017/4. Sorry
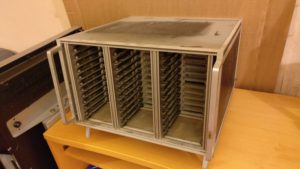
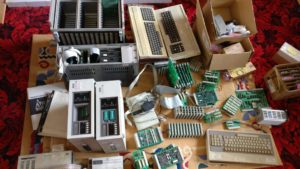
Anyway, this part of my challenge involves investigating a rack that came as part of the old stuff that I picked up. Looks like a 3 bay x 12 slot Eurocard rack. Lets take a closer look…
After a visual check of the keyboards (see this post), I had a couple of questions, which were do the keyboards work? and how do the keyboards work?
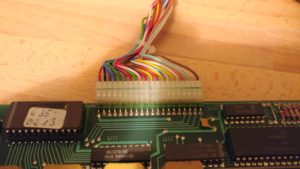
On the basis that neither of the Alphameric had their EPROM windows covered, and that one of the Cherry keyboards had already been modified, I chose the other Cherry one as the most likely to work. After opening it up (again), I checked the 20 pin header. It was quite easy to find out what the 5v and Ground pins were (traceable to the power pins on the logic chips and corresponds to red and black wires on pin 1 & 2!), but the others were going to need something more to diagnose
Time to break out the oscilloscope! It didn’t take long to discover that the pins 3-9 changed upon pressing a key. Curiously, they didn’t didn’t change when releasing the key though. Also, depending on which key was pressed, they might not change at all. Pin 9 was most likely to change and pin 3 was least likely to change.
Next up on the things to investigate is the 4 keyboards
Judging by the connectors, it was obvious that these aren’t modern (PS2, USB or even 5 pin DIN) keyboards. Likely either a raw matrix or maybe parallel ASCII. Lets open them up and have a poke around!
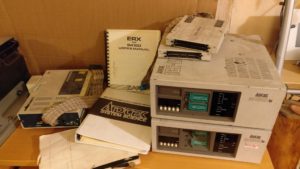
I decided the easiest thing to tackle first would be the three ICE (In-Circuit Emulators) as they’re quite bulky things to get out of the way early. There are two non-identical versions of the same model Adtek ICE Engine BX and a Zax ICD278 – all with manuals!
So, once again Retro Challenge is upon us, and, yes, the timing is offset , but an April challenge should mean that more people are able to participate.
To try and stay ahead of the curve this time, I thought I’d get in early and give my excuses for why I failed to complete the challenge this time around. I know most people leave this part until the very end, so hopefully I can impress the judges with my efficiency!
The very first weekend in April was the UK Maker Faire in Newcastle (which was awesome, thank you for asking), so that took 3 days out of April for me. Then at Easter the Edinburgh Mini Maker Faire will also be robbing me of 3 days. And, finally, Vintage Computer Festival Europe is on from 29th April to 1st May. So, with travel and prep for these events, I feel like I’ll be left with about 4.5 days in which to complete the challenge. Lets see how that works out…
So, you may well remember that I entered Retro Challenge 18 months ago, and what a fun crazy busy time that was! Well, the January Retro Challenge competition is about to kick off in just over 2 weeks.
If you’re not familiar with Retro Challenge, shame on you! But you can de-shame yourself by heading over to http://www.retrochallenge.org/ and seeing what it’s all about. Essentially, it’s a month long bi-annual competition where the entrants set themselves a goal based around old school computing and blog, tweet and share their experiences. The goals are pretty loose, as long as they are based on something from last centuary (modern emulators of old kit is fine).
The challenge I set myself was to take a breadboard based Z80 computer and bring it to life in modular PCB form in such a way that I could spell out my name on. Have a look back through my blog to see how I did. Spoiler —->
So, before I dive in to this, a quick history lesson for those of you that aren’t fully up to speed on your rare 80’s vintage 8 bit computers. In the beginning, there was Clive Sinclair, and he invented the Sinclair ZX80. From the ZX80, the ZX81 and indeed home computing was born. From the ZX81 came the ZX Spectrum. Ok, so Clive didn’t invent these single handed. He had a team working for him, which included Steven Vickers and Richard Altwasser. Somewhere between the initial design of the ZX Spectrum and its launch, Vickers and Altwasser thought there was a better way to do things, and left to set up their own computer company.
Jupiter Cantab was formed in 1982, and Vickers and Altwasser developed the Jupiter ACE. This little computer was a weird mix of ZX80 (vacuum formed white case), ZX81 (black & white low res graphics, 3k memory) and ZX Spectrum (rubber keyboard, small speaker). The one fundamental difference, however, was that it used FORTH instead of BASIC as it’s operating system. FORTH was much more efficient than BASIC, and would revolutionise the home computer market…
Although history tells us it didn’t. Cantab went bust after 18 months and was bought by Boldfield Computing, who went on to sell off the remaining hardware in 1985. Approximately 8000 units were manufactured.
When I was offered an original unpopulated Jupiter ACE by John Fletcher, it was too good to turn down…
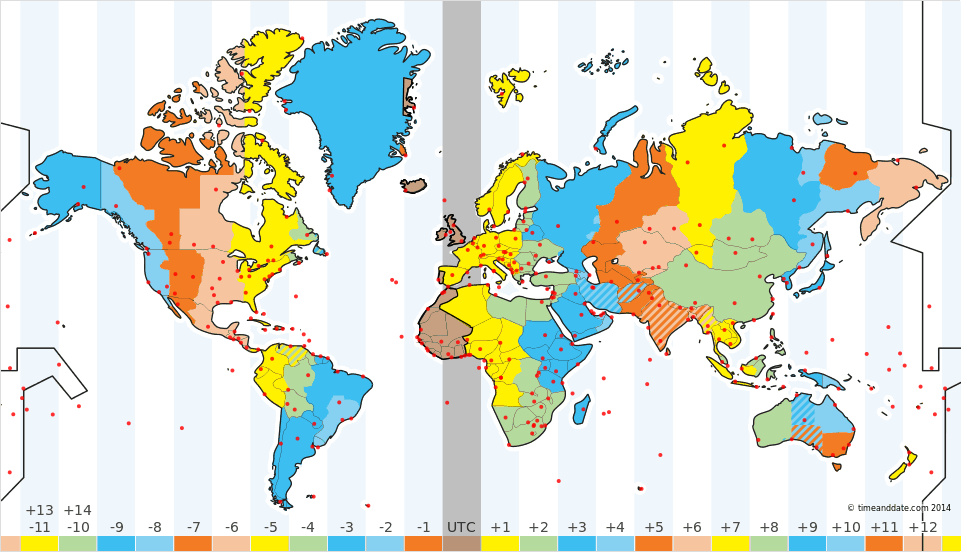
A recent discussion started with the simple question “When is it New Year?”. Well, 1st January, right? The stroke of midnight on 31st December? Depends where you are on the planet? [depends what planet [if any] you are on]. It depends on which timezone you are in.
So, we settled on it being at the stroke of midnight for each of the timezones around the world. Which, surprisingly, is 30. Less surprisingly, they cover a full 24 hours.
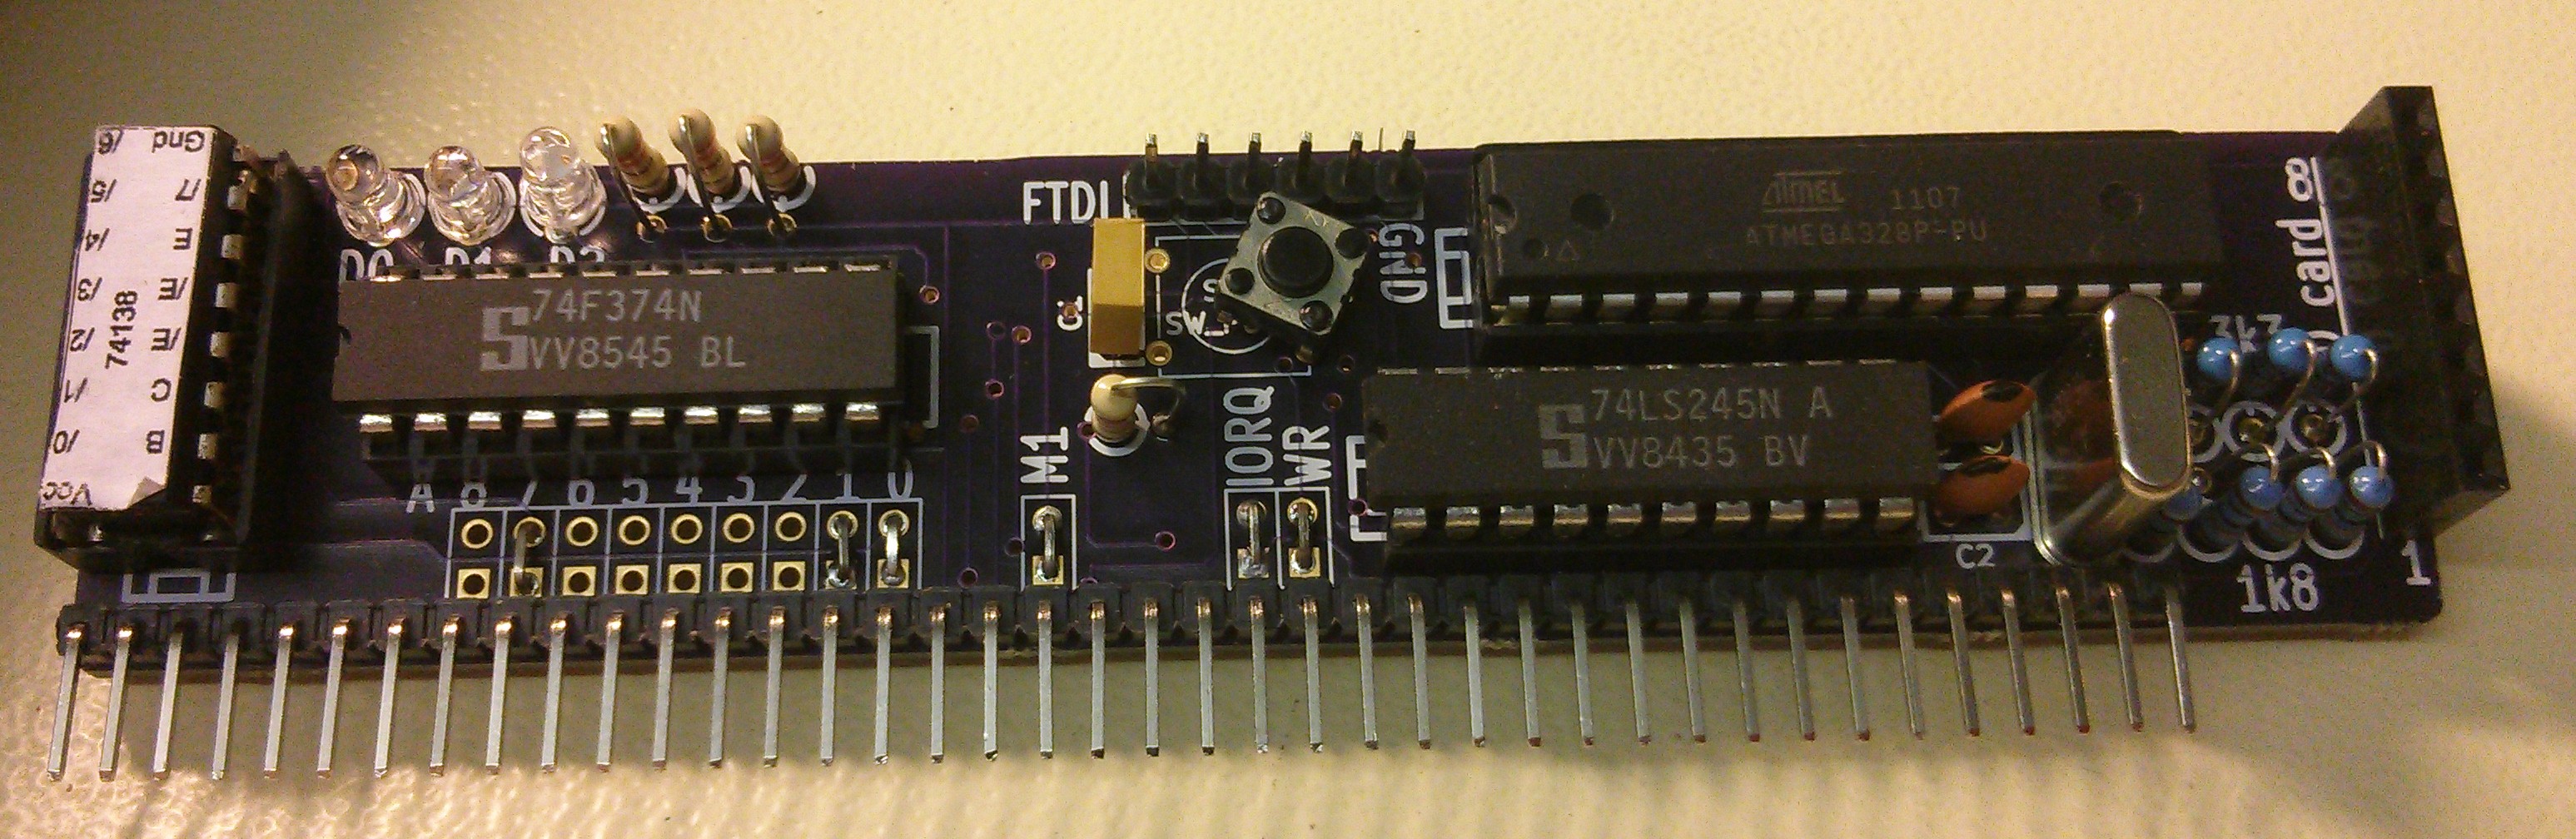
Just a quick update to about the SD Bootloader I designed a few posts ago. Well, the PCBs have arrived and last week I took a soldering iron to one of them and gave it a quick test
One side of the board is effectively an Arduino, so without plugging it in to the RC2014, I connected up an FTDI lead and uploaded the Arduino Blink sketch. A quick check with a multimeter and one of the pins was altenating between 5v and 0v. So far, all good!
When Google first launched the Chromecast, I wanted one as it seemed like it would solve a lot of viewing problems for me. The trouble was, my “TV” (technically, it’s a 42″ monitor as it has no tuner) doesn’t have any HDMI sockets, so it would cause more issues than it would solve, and I figured it would be £30 wasted.
When the price was dropped to £18 recently though, I figured that was within the realms of wasteable money I was prepared to spend. My TV didn’t have HDMI, but it did have composite, RGB, SCART and VGA connections. Surely something would work…
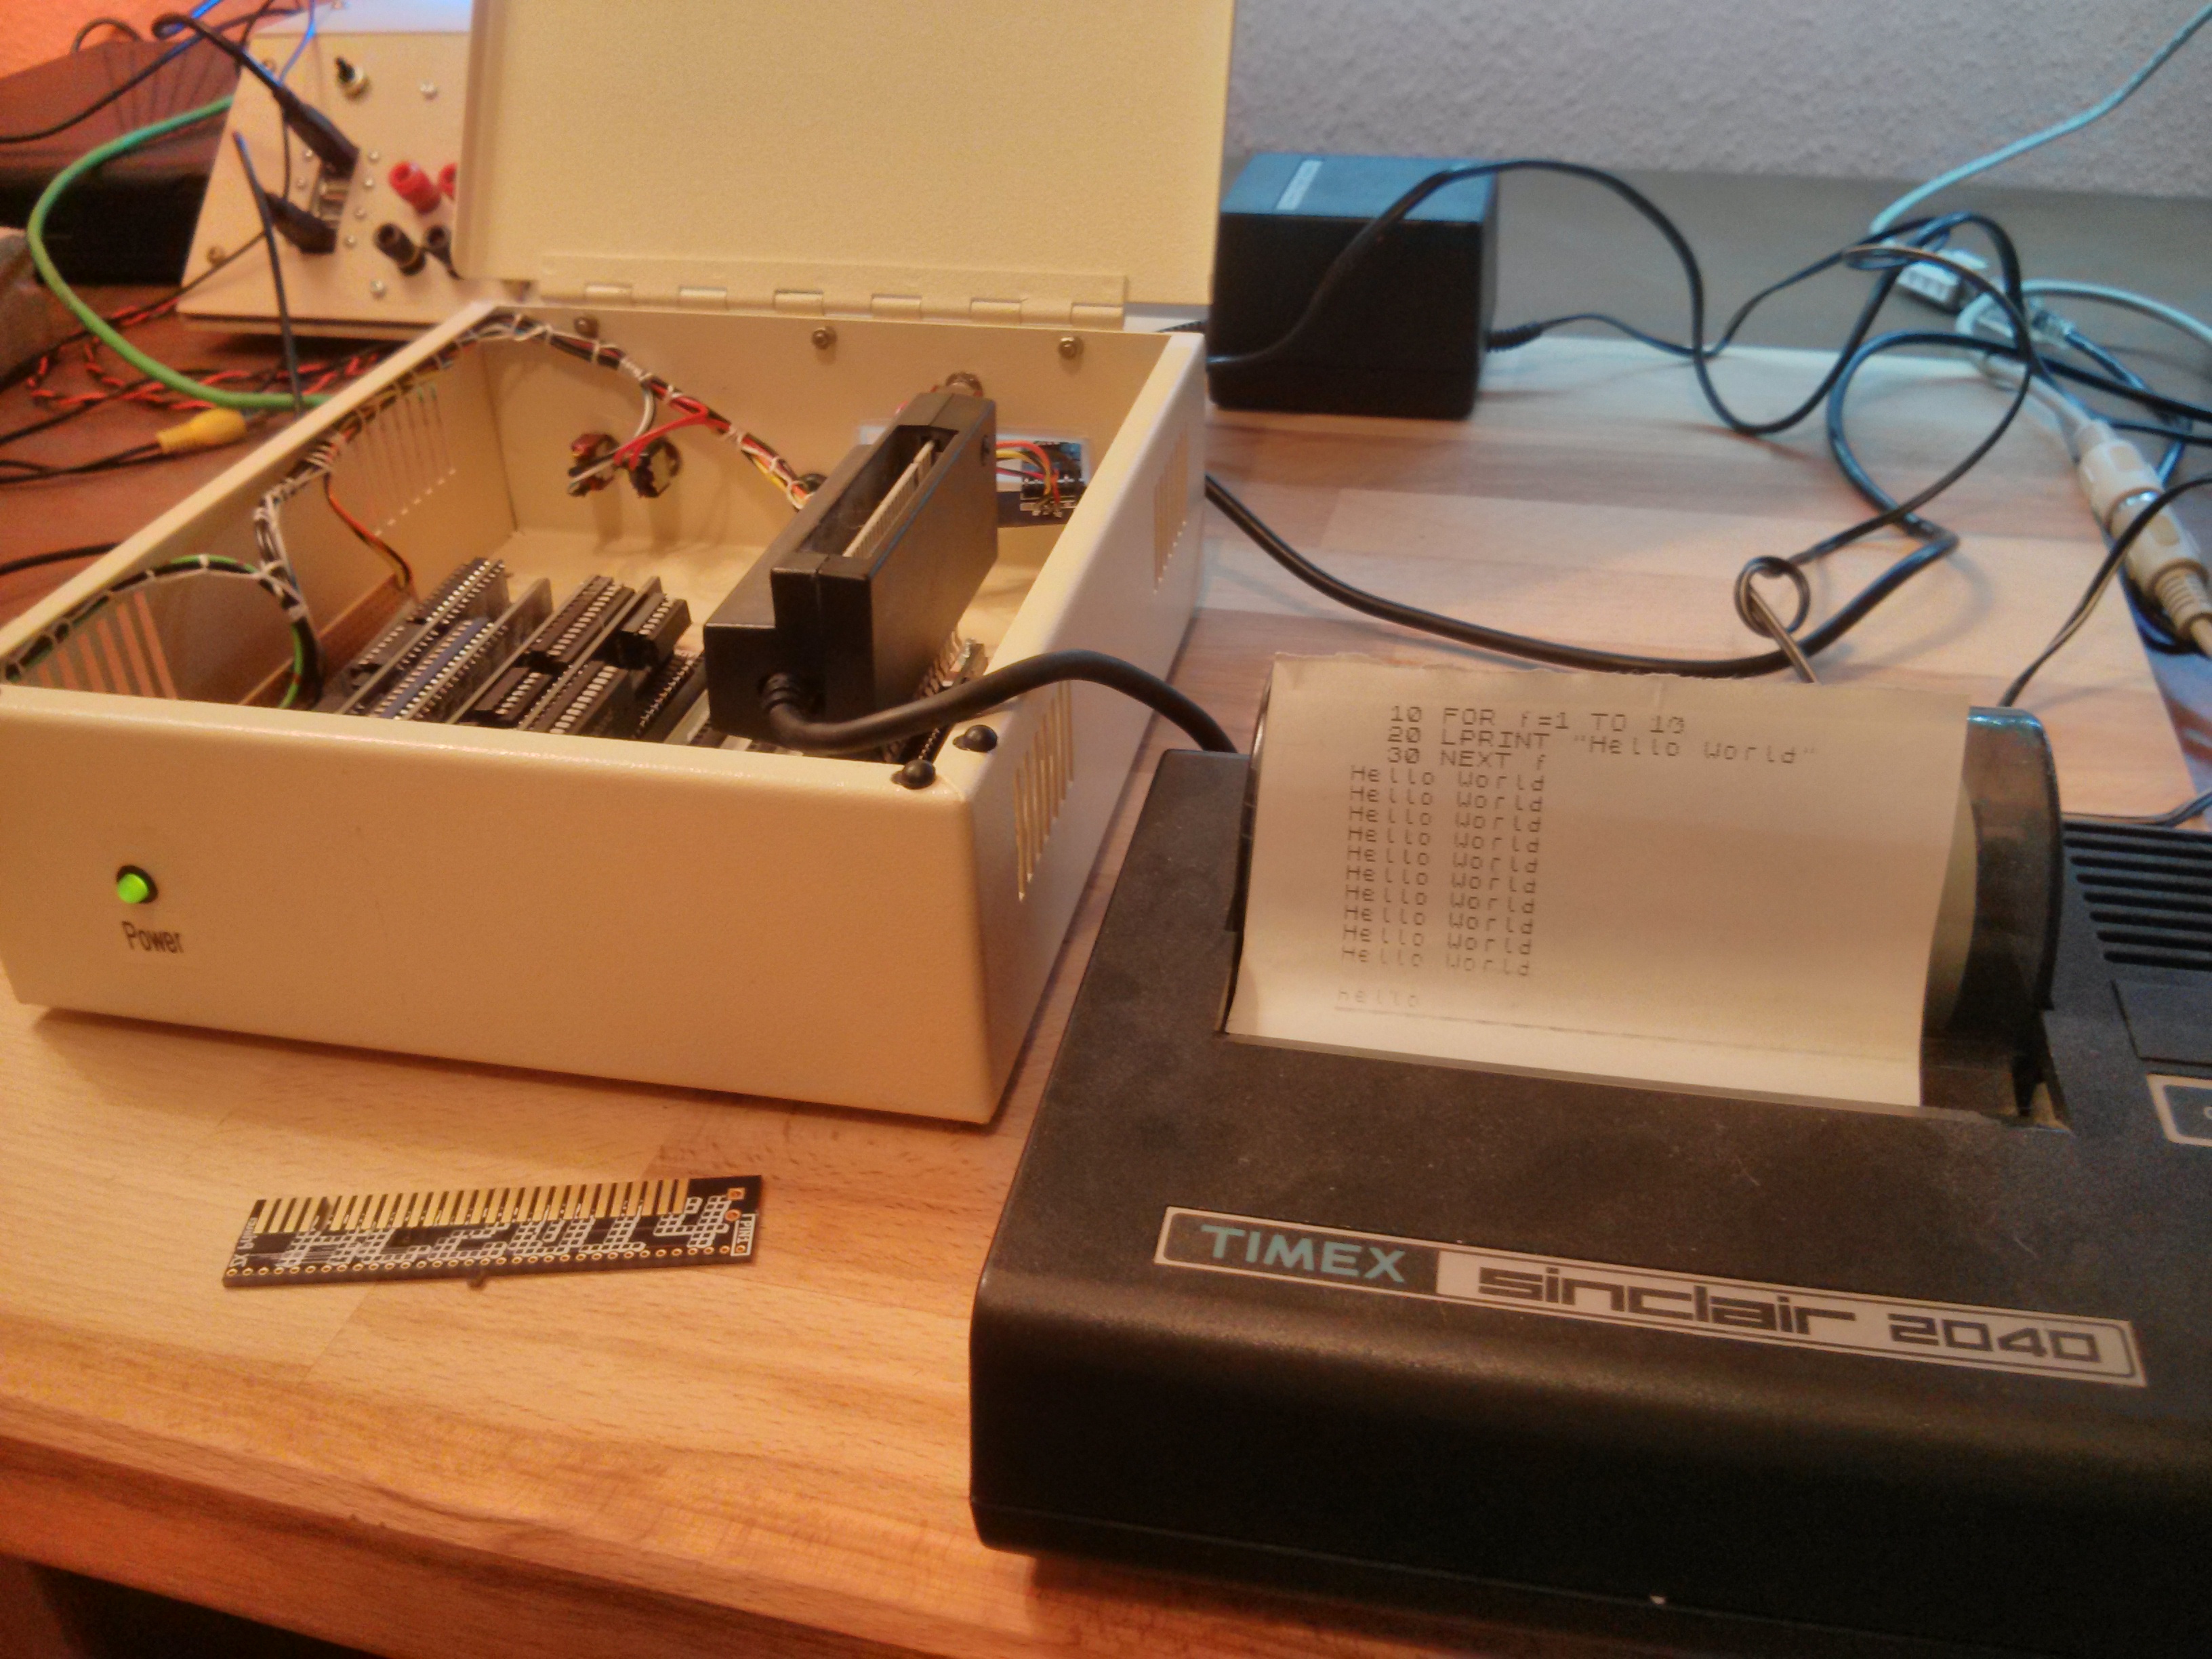
So, the RC2014 is great. I can run Microsoft BASIC and program it from there, and as long as I am using a terminal emulator, I can copy & paste to save and load programs. Alternatively, I can write Z80 code using an online compiler then download it, copy it to USB stick, move it to my old Windows 2000 laptop (which has a parallel port) so I can burn it on to EPROM to see if it works, make adjustments and repeat with another EPROM.
I will be the first to admit, however, that this is probably not the most efficient workflow. Not to mention the time and effort involved in wiping the limited stock of aged EPROMS.
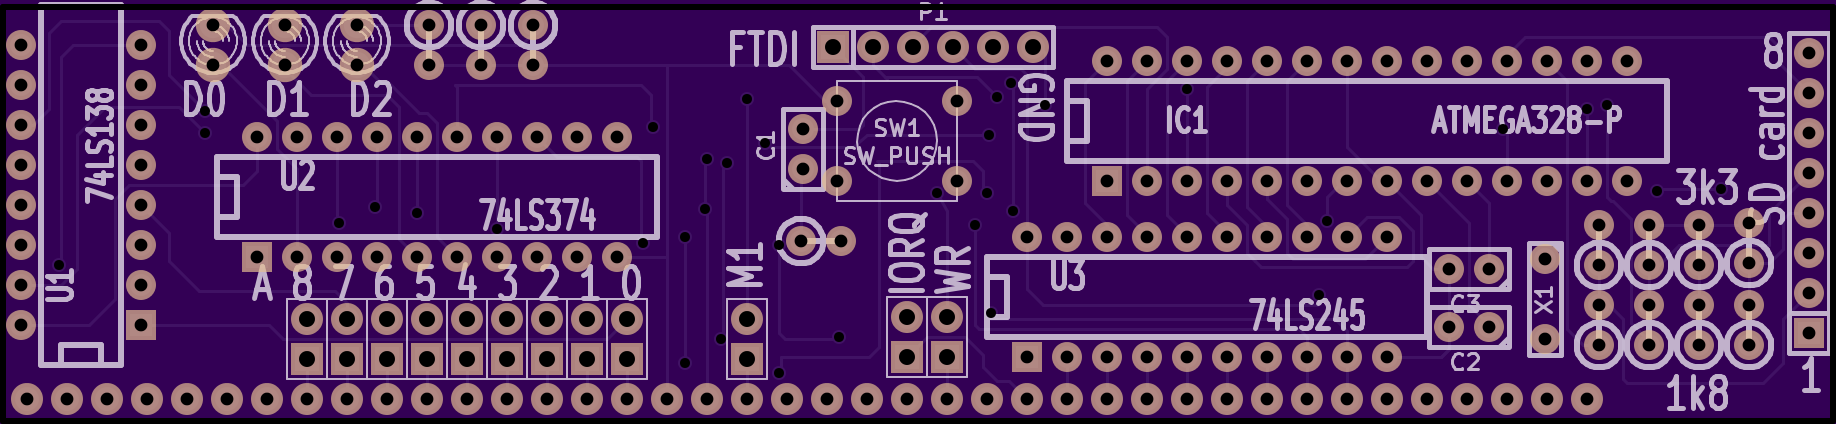
So, I am in the process of designing an SD Card based bootloader.
My original plan had never been to design and build my own computer. I had, however, planned to build a clone of the Sinclair ZX80, which has been on my bucket list of things to own for year, and which I had found plans for online. Whilst collecting the parts and reading up on simple Z80 computers I got kind of sidetracked and ended up with the RC2014.
The heart of the RC2014 is a Zilog Z80 CPU, which is the same one that Sinclair used in the ZX80, ZX81, ZX Spectrum and Z88. If the ZX81 and ZX Spectrum can run a ZX Printer, then surely it follows that the RC2014 will be able to too?
As a child growing up in the 1970s, I had no idea of what the future held. I didn’t know if Mr Benn would be able to get back from his adventures, or if Scooby Doo could catch the Evil Swamp Monster, or even if we were going through the round or square window in PlaySchool. But there were some things about the future that was pretty certain. We would all have robot butlers, go on holiday to the moon and drive electric cars!
So, as I drove to work this morning in my electric car, wondering when my moon tickets would drop through the letterbox, I realised that maybe, just maybe, I am already in the future Continue Reading »
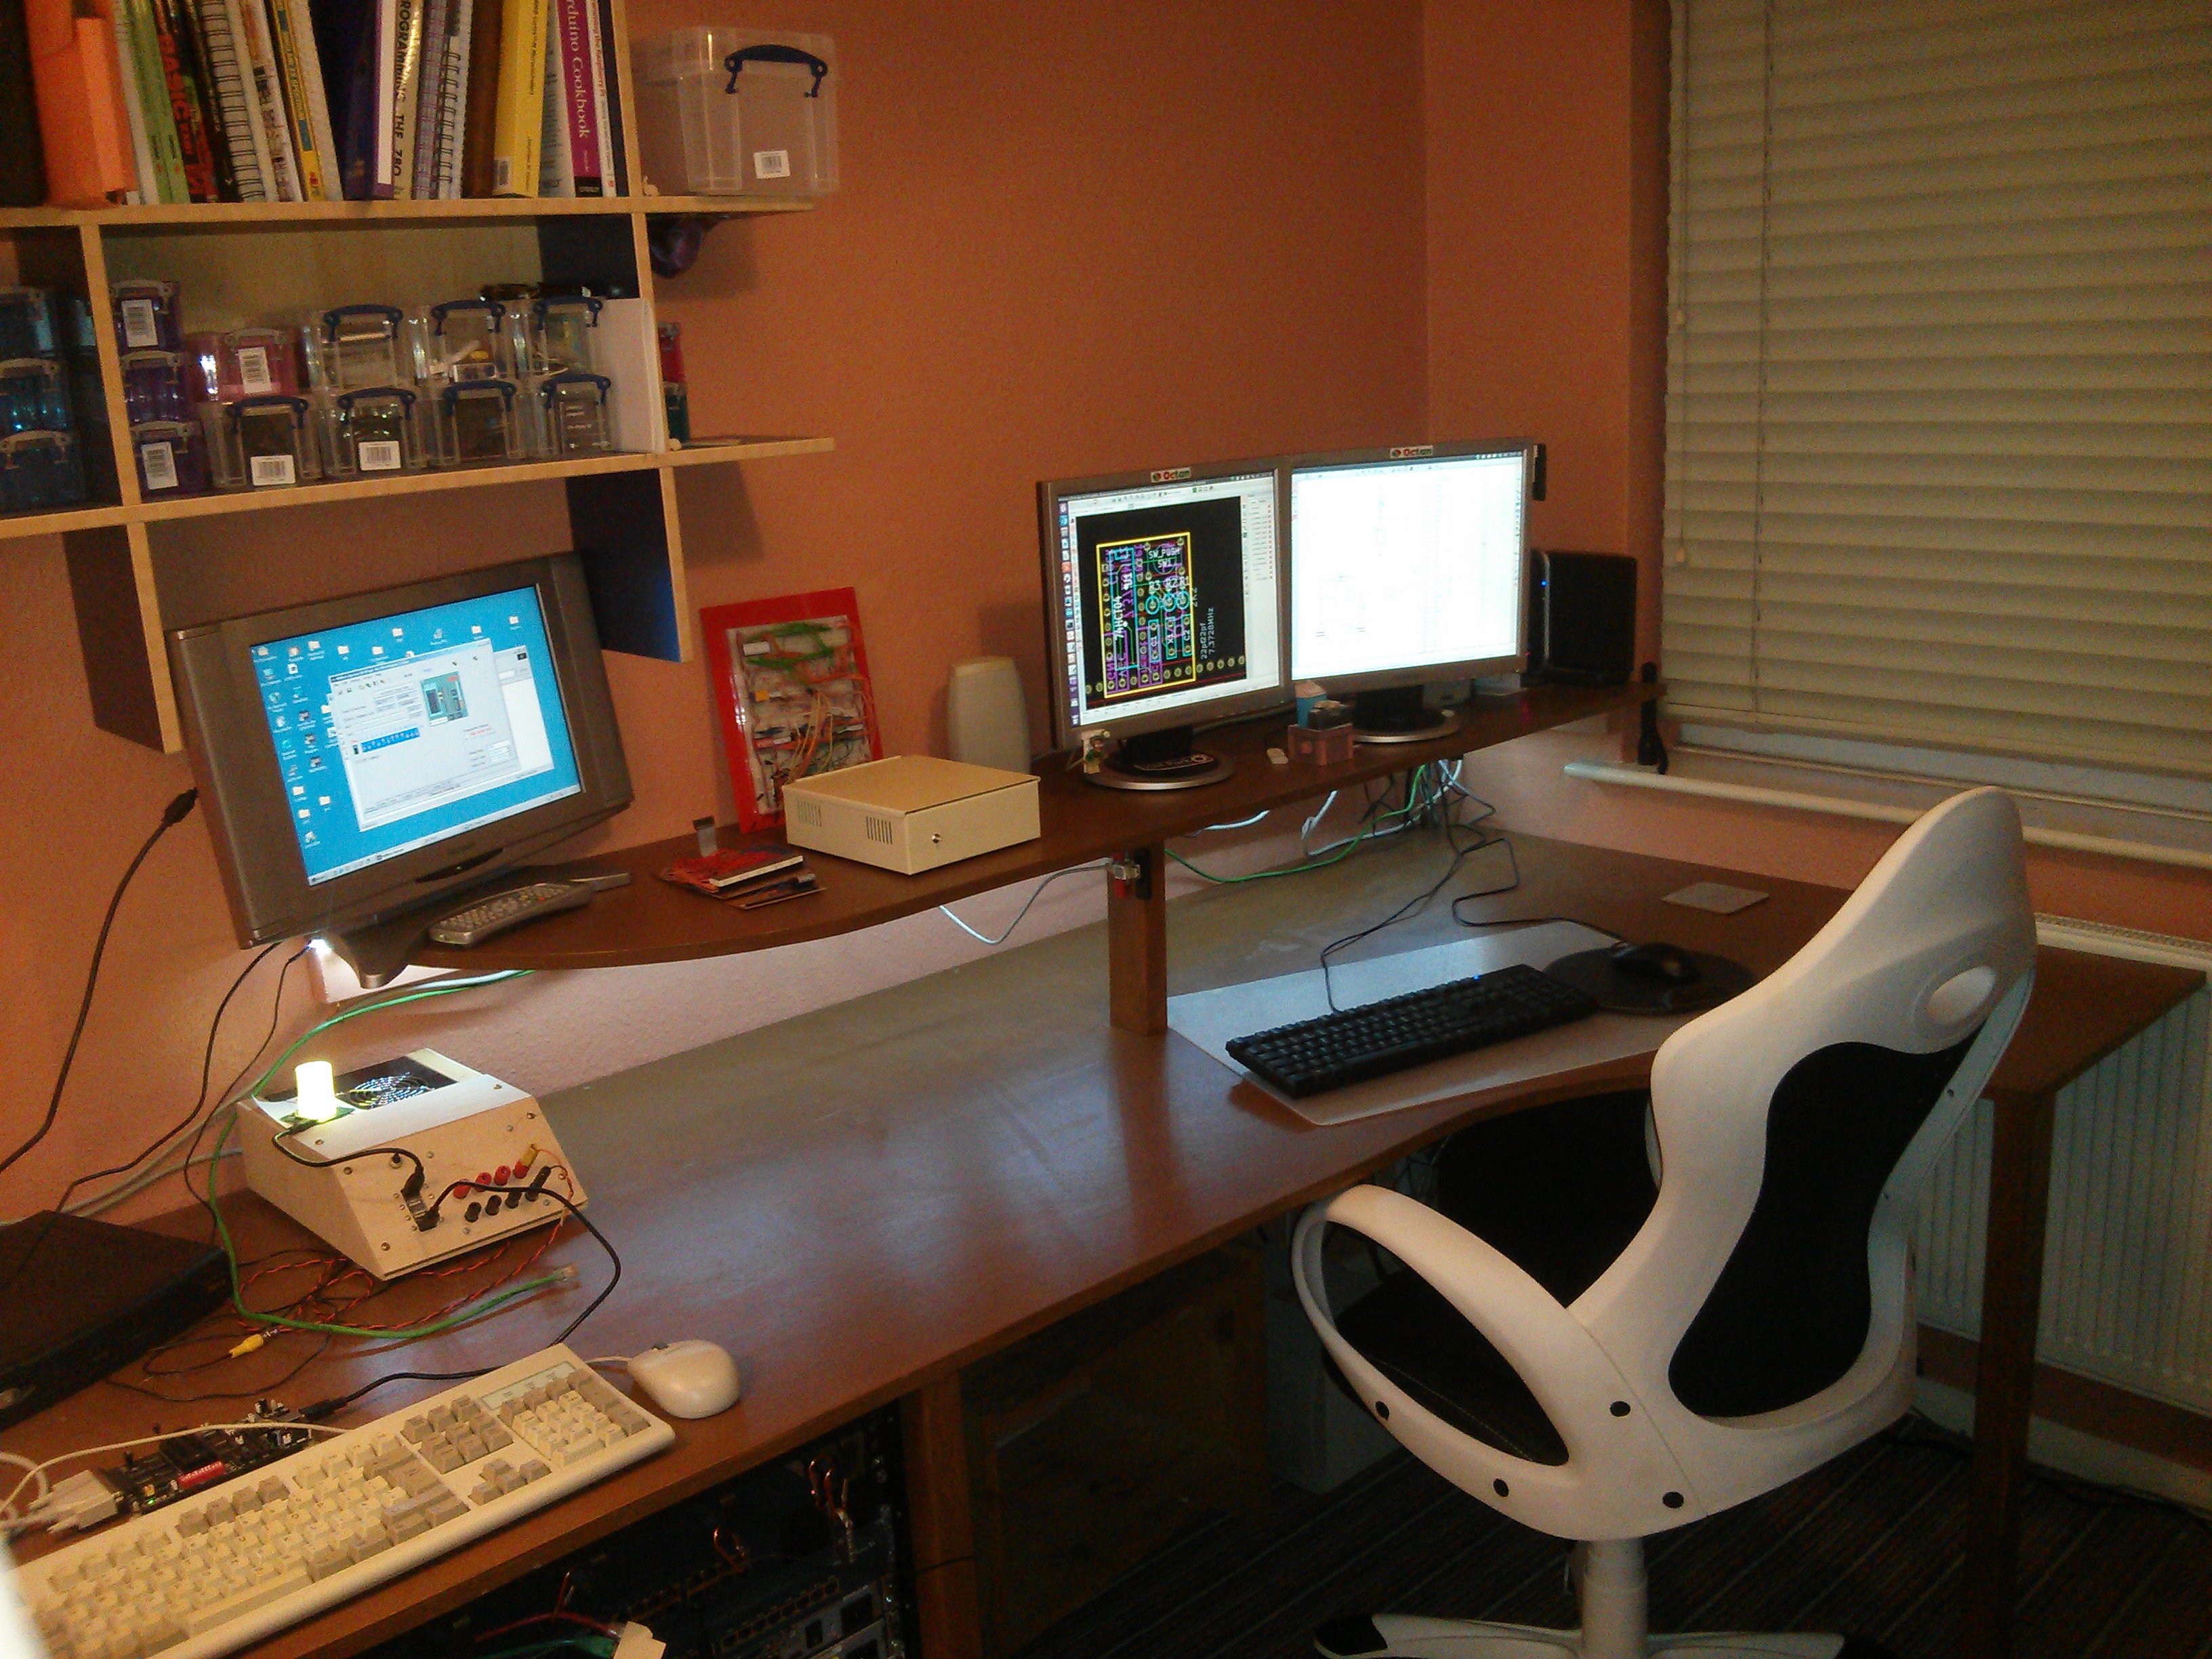
Recently I’ve read a few posts about other peoples working environments, office setups, man caves or work benches. I’ve also had a couple of people ask about mine, since I tweeted about the redecoration and overhaul of my old “spare room” as it transformed in to “Man Cave 2.0”. I had intended to write it up when it was finished anyway, although, even now, 9 months later, it is still not finished, I am begining to realise that it will never actually be finished but will evolve and morph over time.
So, this is a look at the overall design and some of the finer detail in to my Man Cave 2.0 as it stands in August 2014 Continue Reading »
Some of you may remember that last year , after a regretful decision to ‘upgrade’ from Windows 7 to Windows 8 I decided to jump ship and switch over to Linux. Ubuntu 13.04 to be precise. I blogged about the install process here, and my first thoughts after a week here, with the intention of regular posts whenever something goes really good or really bad.
So, it’s 14 months later, and basically things have gone pretty good. Sure, there’s some things that aren’t just how I like them with Windows, but other bits that just seem to work really well. In defence of my lax blogging, I’d just say that I got on and used the computer as I expected I would. I got tripped up a couple of times, but Google and AskUbuntu.com always seem to put me back on the right track.
I have expanded my Linux network too. I was donated an old netbook last year that now runs Ubuntu 13.04 for an hourly Twitter job. The plan had been to test it on the netbook then set up a Raspberry Pi to run it, but the netbook is surplus, capable, cheap to run and it works – so why change. I have also bought myself a little HP server which I put Ubuntu Server 13.10 on, along with OwnCloud. This works like DropBox, and synchronises files between my main PC, phone, tablet, work computer and is available to me (albeit slowly) anywhere on the internet.
All in all, things have been ticking over quite nicely. Life has been happy in Linux land… until recently! Continue Reading »


.JPG)