This is one of those little projects that didn’t need to be done, or could have been done very simply. Despite a lot of feature creep, everything just came together at the right time, and I’m really pleased with the results.
Firstly, a bit of background. My mum celebrated her birthday a couple of months ago, and the present my sister bought her was a geode that she picked up on a recent holiday to the United States. Not just a regular geode, though, but one that had a hole drilled out and a light attachment that went inside so it glowed nicely. Well, it would have glowed nicely, except that the US bulb was rated for 110v, not our full strength 220v electricity. So the millisecond it glowed nicely for was followed by a loud bang and the bulb turning black.
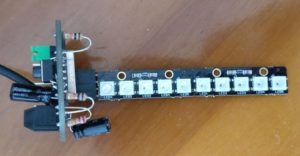
As I was there to see this, I figured I could easily get a light fitting and bulb from Ikea and we’re all good. Then I wondered if LED lights might be a better idea. At the same time, I was starting a project for the RC2014 involving a ESP8266 wifi enabled micro controller. Coincidentally, I’d just bought a couple of WS2812 based Zip Sticks. So, you can guess where I’m going with this, right? Yup, use the ESP8266 to set all the LEDs to a nice shade of blue, and job done!
Well, that would have been within my programming abilities. However, I wondered if anybody else had controlled WS2812 LEDs from an ESP8266. Would you believe they had? And not only that, but I found McLighting from Toblum on GitHub which enables wifi control from your phone or computer to not only set the colour, but a whole stack of pretty effects.
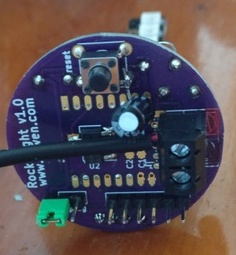
Time to fire up KiCad and get a PCB designed. I’d taken the rough measurement of the hole in the geode, and had a 40mm diameter round PCB to fit everything on. With a mixture of through-hole and surface mount components, and using both sides of the board, everything went on well. Because I only needed a very small run, OSHPark was the obvious choice. And at only $11.25, it was a real bargain!

A few days later and 3 lovely purple PCBs arrived. It wasn’t long before I got the soldering iron out and started to assemble them. I assumed that my selection of every single value of surface mount capacitor would have contained what I needed, but sadly it didn’t even get close, so I had to resort to bodging in a couple of through-hole electrolytic caps. I also noticed that I hadn’t indicated the +ve or -ve power terminals. A rookie mistake, but not the end of the world. Once it was all together, though, it worked just great!

A quick test, and a run through of the settings and things were looking really good. But would it fit the geode? Time for a trip down to my parents house and try it out.

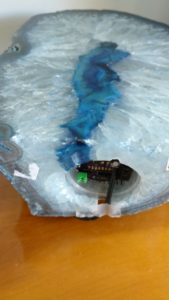
The PCB went in to the geode with no problem at all. If anything it was slightly undersized, but I’d prefer it to be a little bit too small than too big. A plastic ring that was a snug fit held it securely in place.
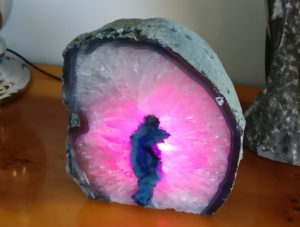
In the daylight, it looks absolutely awesome!
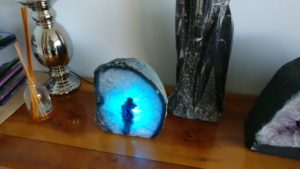
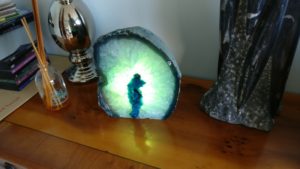
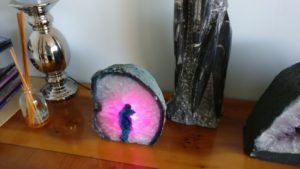
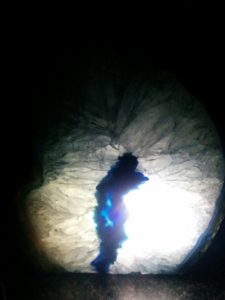
By night it looks even better… although getting a good photograph isn’t so easy!