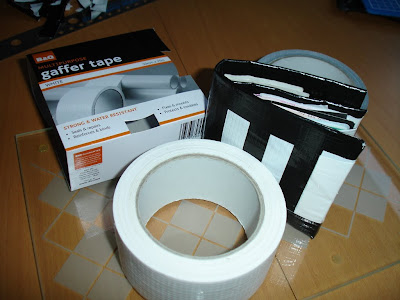
A few years ago, I walked passed a shop in London that sold a Duct Tape Wallet Kit. For about £15 it included a few lengths of duct tape pre-cut to length and some instructions. My interest was piqued but not enough to leave me with an empty wallet. Instead I invested in some Google time and a £4 roll of tape (which would have done around 20 wallets!) After about 4 years it was looking a bit battered and worn, and I had a few ideas to improve on my first one.
This time I made it with camera at the ready. Read on to learn more…
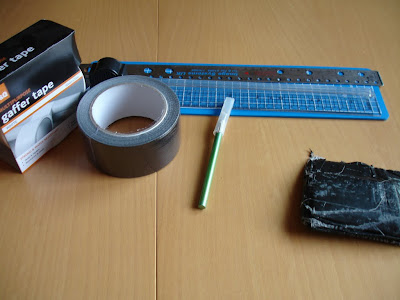
Items required
-
Duct (Gaffa) tape
Cutting mat
Sharp knife
Ruler (or straight edge)
Old wallet as template (or wallet contents)
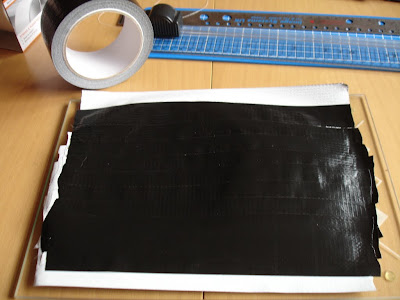
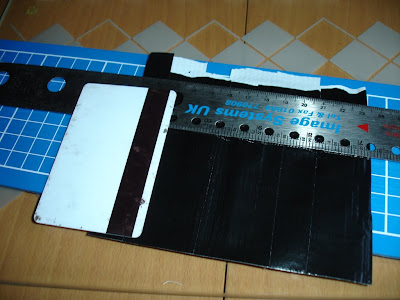
Start by cutting a length of tape a few inches wider than your existing wallet. Lay this sticky side up. Cut a second length and lay this sticky side down so half of it overlaps the first one;
Turn this over, and add another length of tape so it overlaps the sticky side that’s now facing upwards
Keep repeating the overlapping procedure to produce a Duct Tape sheet. This is the basic building block of Duct Tape items. This first one needs to be at least as wide and at least twice the height of your final wallet.
Fold the top and bottom edges over each other so you’re not left with any stickyness showing.
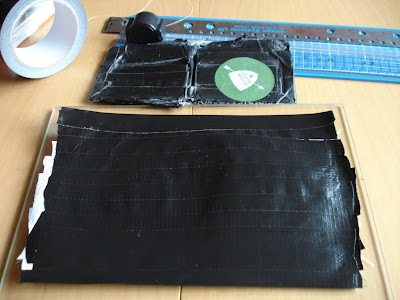
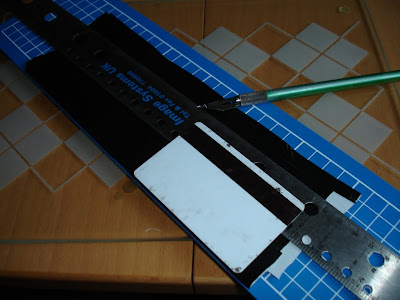
Then trim the edges with a ruler to the width you want (a £20 note is big enough to check the size is ok. If you have a £50 lying around to check against, don’t worry if it’s too small, you can always buy yourself a nice Prada wallet)

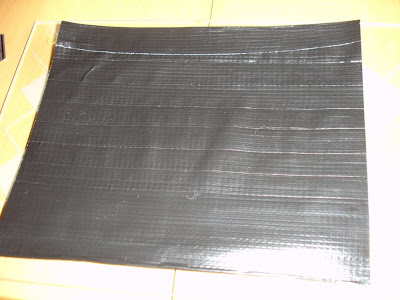
You should end up with a nice neat rectangle of Duct fabric
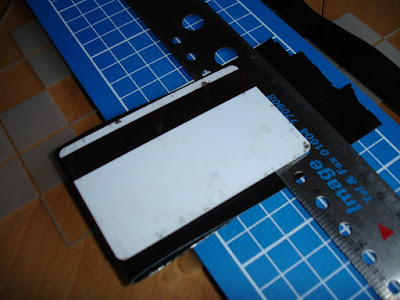
My first wallet was built from 100% Duct Tape, but I noticed fairly quickly that the top corners were deforming. For this one I decided to deviate from the purist ideal and add some cardboard triangles (old business cards cut up) to the top two corners

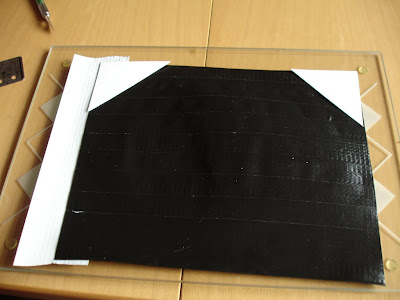
And hold in place with a strip of tape
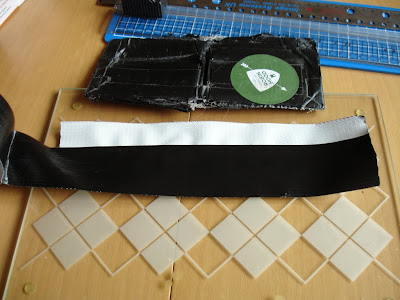
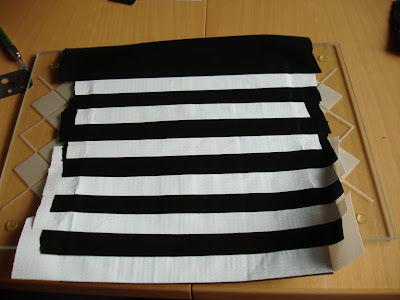
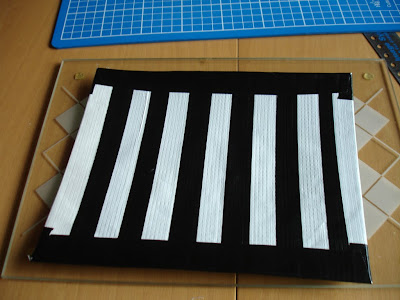
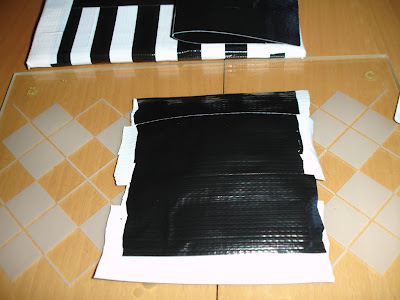
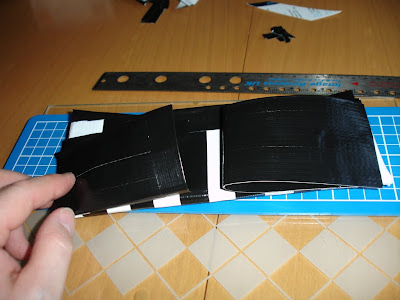
The real Duct Tape purists out there will also tell you that you should only use the silver/grey Duct Tape for wallets. Personally, I prefer the slightly cheaper B&Q tape, and adding a bit of colour to it too. My last one was just black, but for this one I decided to come up with a black and white striped design
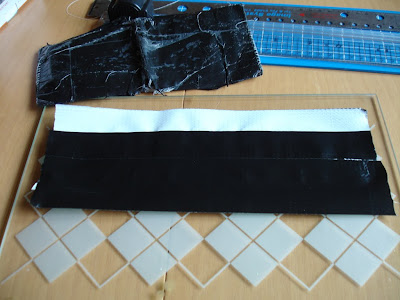
All I did was add rows of white then black tape to the original sheet at 90 degrees to the direction of the first layer
Then trim the excess off with about an inch overhanging
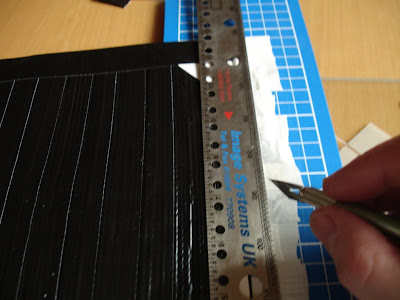
Cut the corners and fold in to leave a nice finished edge

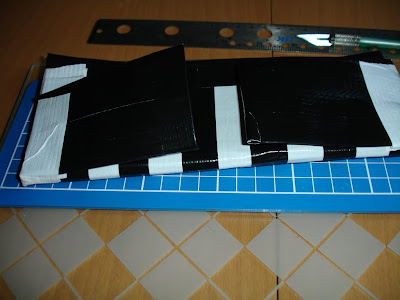
I added a black edge to it too;
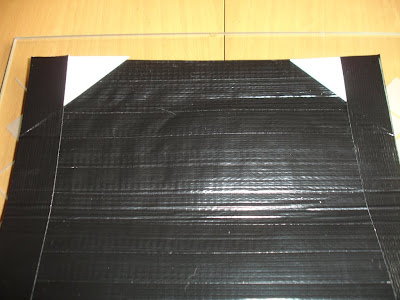
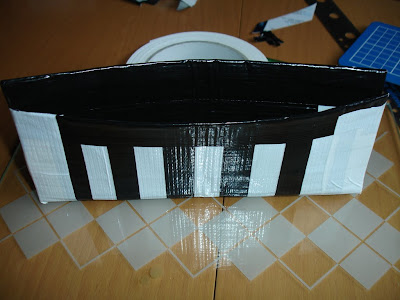
Turn the sheet over, and fold it slighlyt below the half way mark so edge without the cardboard corners sits about an inch below the edge with them in

Secure in place with a piece of Duct Tape
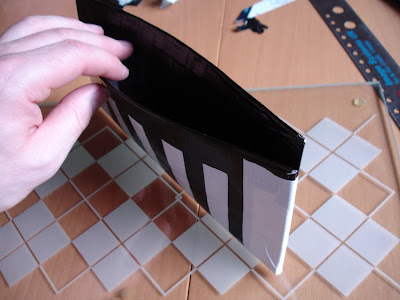
This will leave you with the notes part forming the basis of your wallet. If you only carry notes then you can leave it here
If you carry cards or other stuff, you might want some pouches and card holders too.
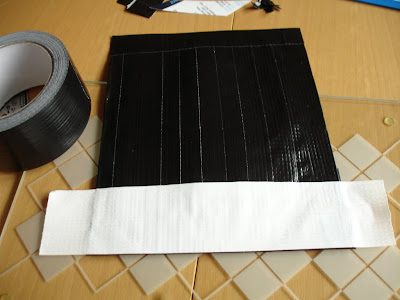
For a pouch, start by making up another Duct Tape sheet around the same width as your wallet, and at least as tall as a credit card
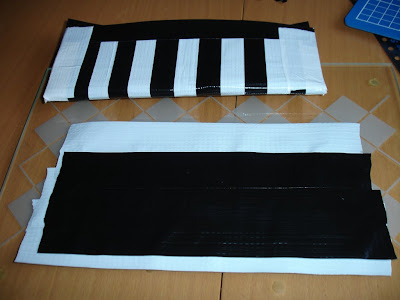
Trim the edge with a ruler
The fold in half and trim to the required width
For the card section, make a Duct Tape sheet at least as wide as a credit card
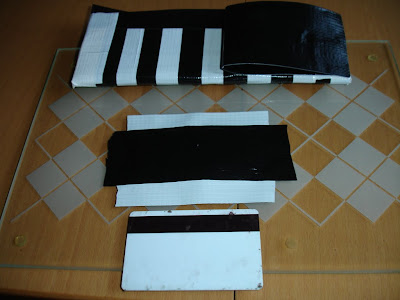
Keep on going until it is at least twice as tall
Trim to slightly larger than a credit card
And fold it over on itself similar to how the note section was folded
Hold the pouch and card section in place with more tape on the edges
And some more along the bottom edge
And there you have your finished wallet

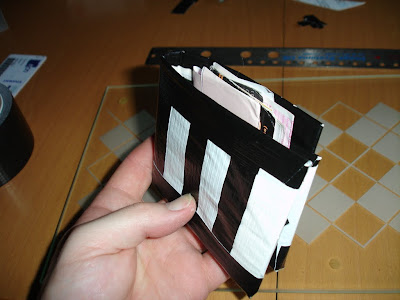
The beauty of making your own wallet is that you can customise it to your own needs and have the pockets and pouches that you want. You carry more cards? Fine, add more card holders. You want a coin pouch? No problem, make a coin pouch. Your Duct Tape wallet is what you want it to be!